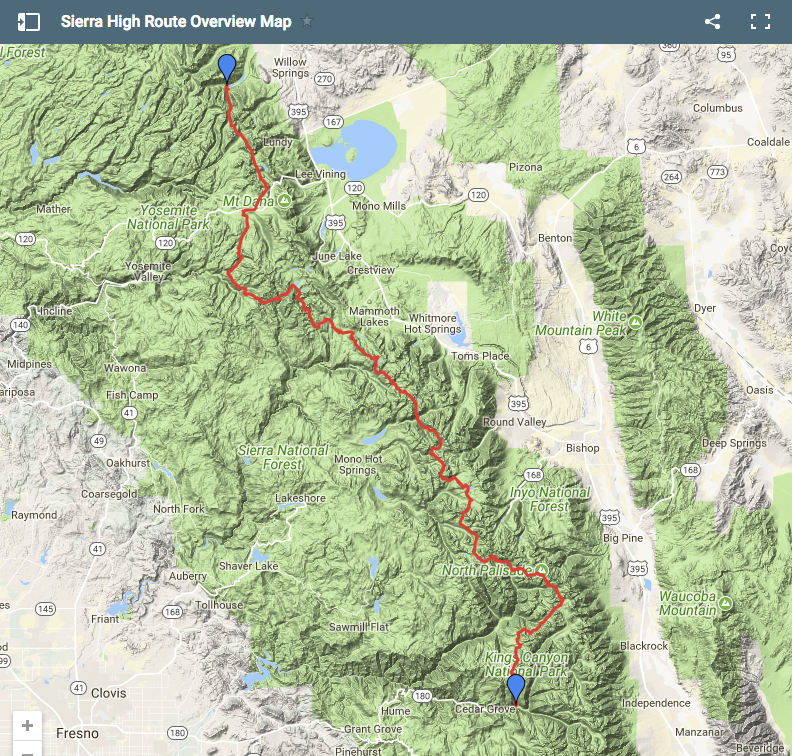
The Sierra High Route is one of the most spectacular and challenging treks in North America. Stretching approximately 195 miles (314 km) north to south through the Sierra Nevada, it is a largely off-trail affair that stays between 9,000 ft (2,743 m) and 12,000 ft (3658 m) for most of its rugged course. Along the way, aspirants will negotiate class 3 scrambles, talus slopes, and huge boulder fields while passing through an alpine wonderland of granite spires, glacier-carved valleys, and turquoise lakes.
I hiked the SHR in September 2011. It was the third hike in the 12 Long Walks series and I was joined for much of the way by a good friend from Scotland. All logistical details and the gear list have been updated as of October 2021.
Details
Distance: 195 miles (314 km) approx.
Avg.Time: 15 – 17 days
Difficulty Level: Challenging
Start / Finish:
- Mono Village, Twin Lakes (northern terminus)
- Road’s End, Sequoia & Kings Canyon National Park, CA (southern terminus)
- Which direction should I go?: Six of one, half a dozen of the other. If you don’t have friends helping you out on the transportation front, going south to north is a little easier logistically speaking (see below).
Getting There & Away:
There is no public transport to either trailhead:
- Northern Terminus: From Mono village, it’s an easy 14 mile (22.5 km) hitch to the town of Bridgeport, from where onward public transport is available with Eastern Sierra Transit.
- Southern Terminus: My friend and I took a taxi for the 85 mile (137 km) journey from Fresno (nearest big city) to Road’s End (2011). We paid $150 between the two of us. A cheaper option might be to advertise for a ride on Craig’s List. If you don’t mind hitching part of the way, you can catch a ride with Big Trees Transit from Fresno Airport to Grant Grove Village, from where it’s approximately 34 miles (55 km) to the Road’s End trailhead.
- Note: If I was to hike the SHR again, and it’s quite likely that I will, I would do so in a southbound direction and combine it with Alan Dixon and Don Wilson’s Southern Sierra High Route. This joins the SHR at Dusy Basin and brings the overall distance total to approximately 270 miles (435 km). As per the Dixon/Wilson extension, I would then finish my hike at the hitching-friendly trailhead of Cottonwood Lakes, from where it is a short ride down to the public transport accessible town of Lone Pine.
Season:
- July to September. Depending on snow levels, late June and early October can also work.
Maps & Information:
- Steve Roper, The Sierra High Route: Traversing Timberline Country. Highly recommended. Written by the man who pioneered the SHR. Includes 1:24,000 black and white maps, hiking notes, and lots of other great information on the region. The maps aren’t ideal for navigation purposes. Your best option is to combine Roper’s excellent route descriptions with one of the mapping options listed below.
- Andrew Skurka: Sierra High Route Mapset & Data Book.
- Southern Sierra High Route: Detailed information from Alan Dixon for those interested in extending their Sierra journey.
- Tom Harrison 1:63,360 topo maps (4): King’s Canyon, Mono Divide, Mammoth, and Yosemite. I’m a big fan of Harrison’s maps, though for navigation purposes on the SHR, you’re better off going with the 1:24,000 sheets.
- Permits: You’ll need a backcountry permit for the SHR. If beginning at the southern terminus of Road’s End, you can pick one up at the trailhead. Alternatively, you can organize one in advance via the Sequoia & Kings Canyon NP or Yosemite NP websites.
- Bear Canister: Legally speaking you are required to carry a bear canister in many places throughout the High Sierra. See the Sequoia & Kings NP and Yosemite NP websites for details.
- Resupply: Reds Meadow is the primary resupply point on the SHR. Situated approximately 118 miles (190 km) north of Road’s End, it has a small store, restaurant, laundry and cabins. The store selection is limited, so it’s best to send a resupply box (Note: As of March 2018, they are charging $40 to hold packages). See the Red Meadow website for details. If you don’t plan to overnight, you can still do some laundry and get cleaned up at the ‘hot spring’ showers at the nearby campground.
- Resupply 2: Once you reach Reds, another option is to catch a shuttle down to the full-service town of Mammoth. The buses run from June 16 through to Labor Day and the price is $7 one way (2017).
- Resupply 3: If you’re not keen on carrying food all the way from the southern terminus to Reds Meadow (or vice-a-versa), you can exit the SHR at Dusy Basin via the Bishop Pass Trail. This will take you roughly 8 miles (12.9 km) over to the South Lake Trailhead. From that point, it is a further 1.2 miles (1.9 km) to Parcher’s Lake Resort, which accepts resupply boxes. Contact first to confirm; in 2016 they were charging $25 to hold a package (Note: Parcher’s represents a particularly good option if you plan to extend your hike to Mt.Whitney or Cottonwood Lakes trailhead).
- Resupply 4: From the above-mentioned South Lakes Trailhead, you could also try to hitch down to the nearby full-service town of Bishop.
- Resupply 5: A mere 27 miles (43.4 km) south of the northern terminus is the Tuolumne Meadows Store. Burgers, ice cream, and beer are available. It’s two miles off route. Just sayin’……….
Route / Conditions:
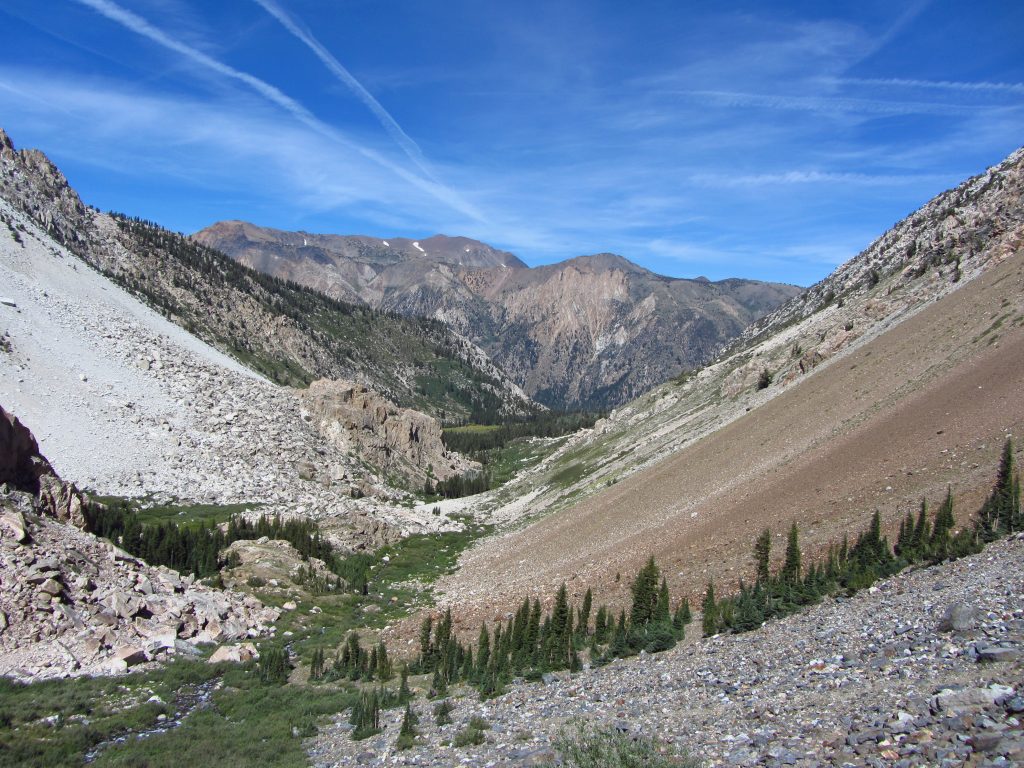
- Character: The SHR is a largely cross-country hike, which as the name suggests, takes the walker on a high-level route (virtually all between 9,000 – 12,000 ft / 2,743 m – 3,657 m) through some of the most pristine wilderness in California’s High Sierra. During its course, it passes through Kings Canyon National Park, Inyo National Forest, and Yosemite National Park.
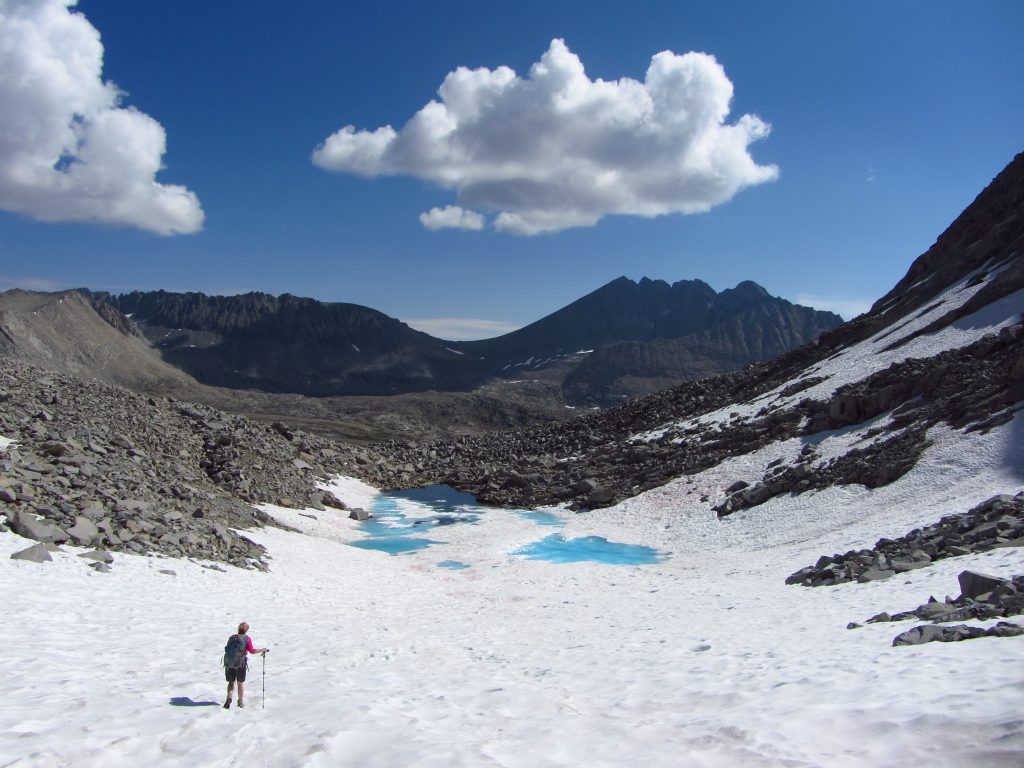
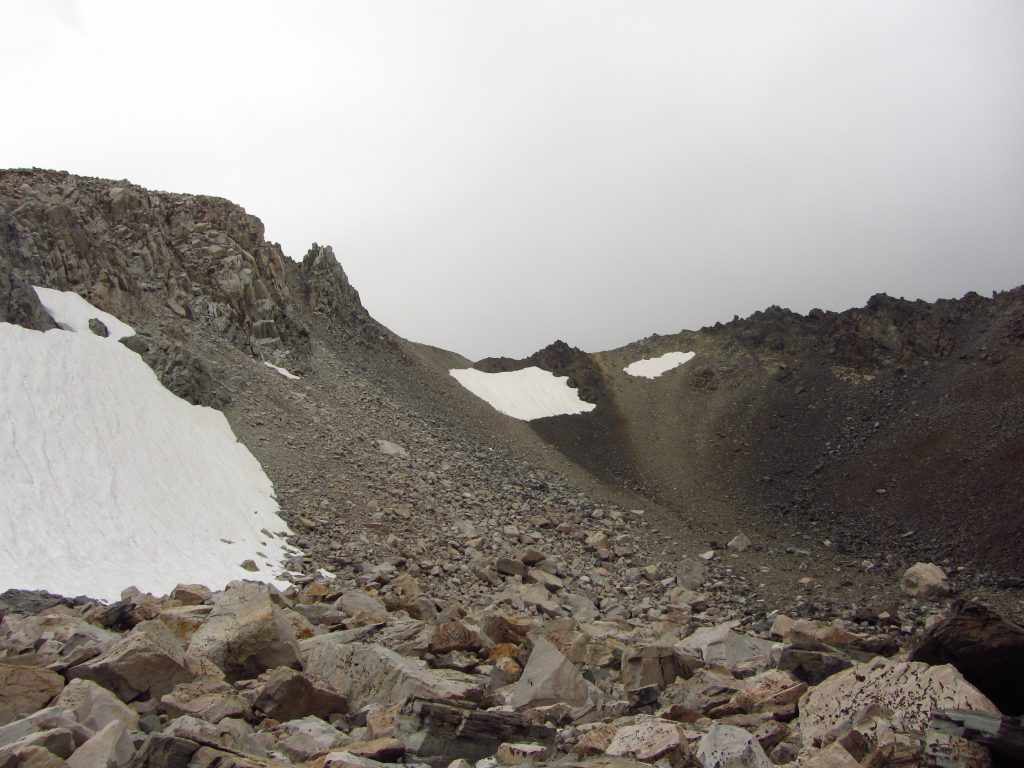
- Terrain: The SHR traverses some thirty-three passes, by way of boulder fields, talus slopes, granite slabs, and the occasional meadow or lake basin. It ain’t no walk in the park; metaphorically, rather than nationally speaking.
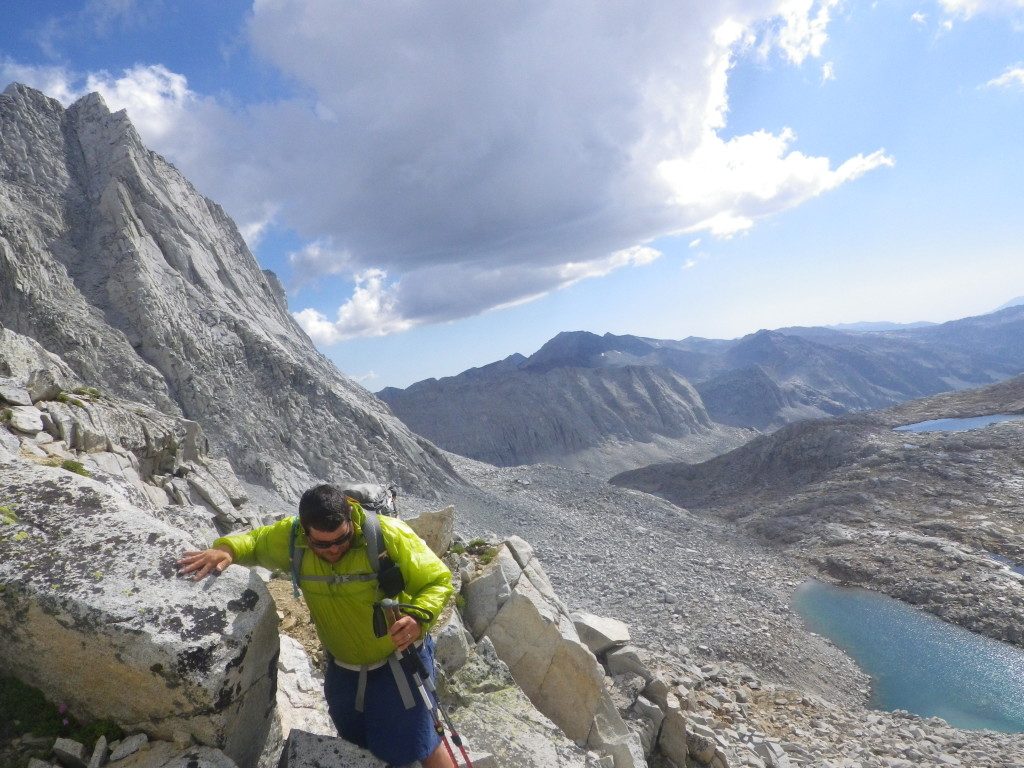
Whitney “Allgood” LaRuffa on the Sierra High Route, 2015 (photo by Liz “Snorkel” Thomas).
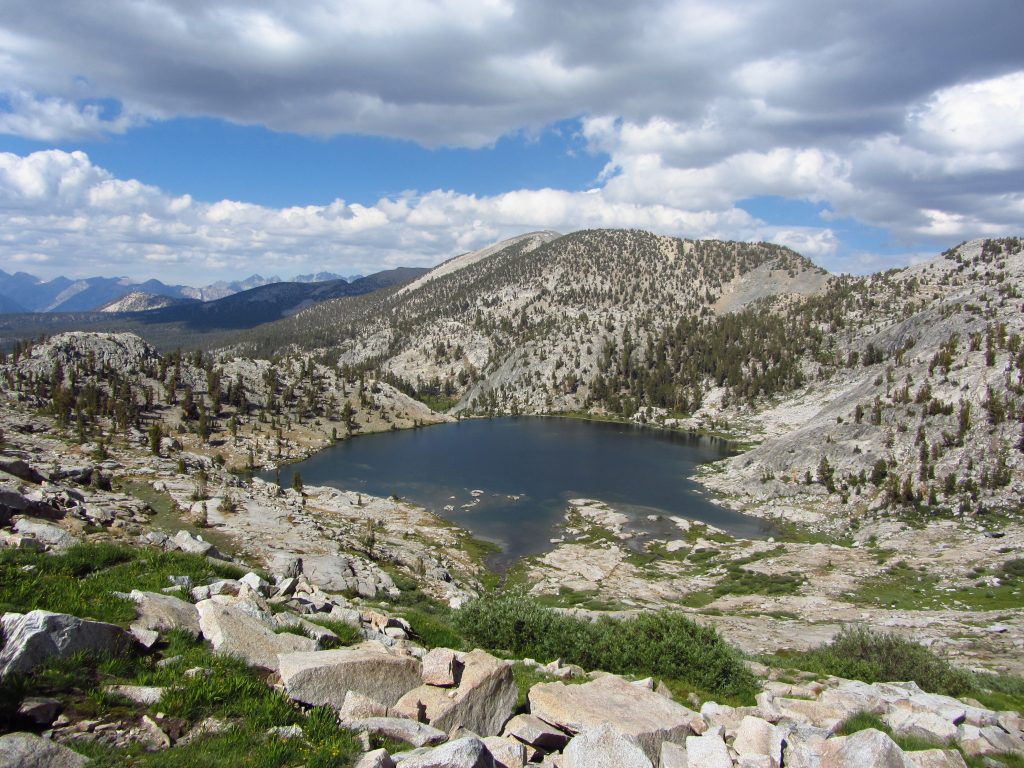
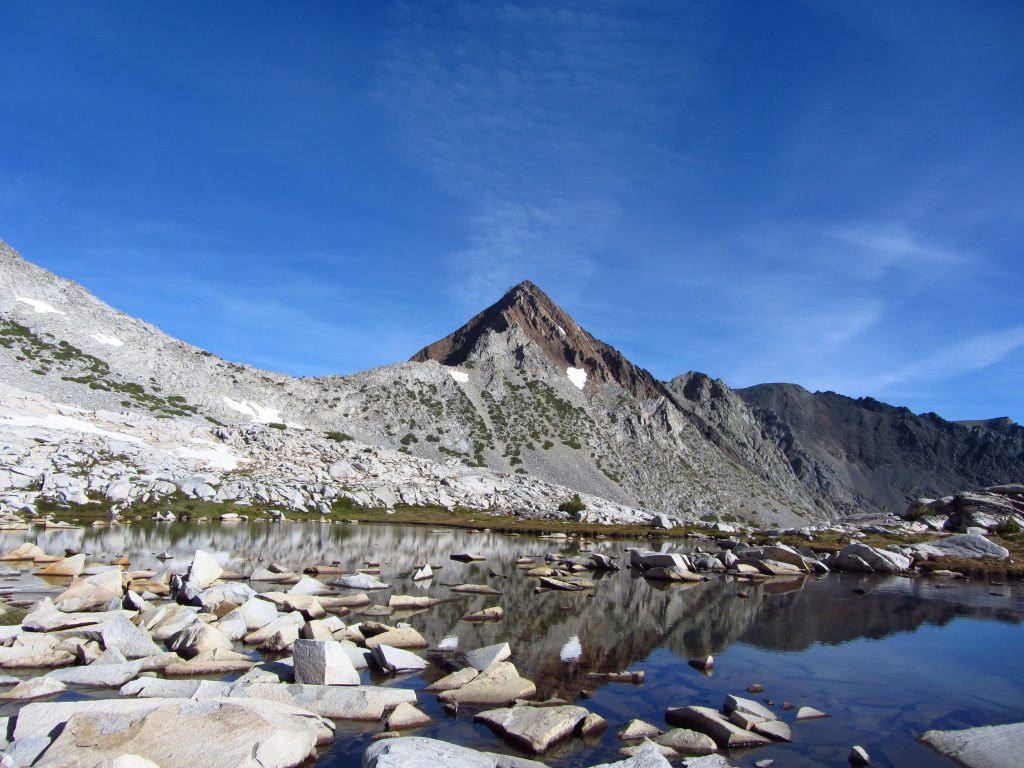
- Scenery-wise it doesn’t get much better. Granite spires, majestic glacier-carved valleys, and countless alpine lakes. The Sierra High Route arguably has more stunning vistas per square mile than any other long-distance hike in the contiguous United States.
- Navigation: Due to the trail-less nature of much of the SHR, good route finding & map/compass skills are required. For GPS users, be sure to bring a non-electronic navigational backup.
- Altitude: From the southern terminus of Road’s End, the initial climb from the Copper Creek Trailhead takes the hiker from 5,050 ft (1,539 m) to over 10,000 ft (3,048 ft). If you are coming from sea level, this may prove to be a potentially head-spinning proposition. To minimize the chances of AMS symptoms, consider making an afternoon start and camping mid-climb (i.e. 7,000 – 8,000 ft / 2,134m – 2,438m). For more information on trekking at high elevations, see Tips for High Altitude Hiking on the website.
- Swimming: If you happen to be a water-lover, there are enough swimming opportunities on the SHR to satisfy your average mermaid. At these altitudes, the water temps can be a little on the brisk side, however, don’t be dissuaded. It’s an incredible feeling swimming in an alpine lake surrounding by beautiful mountains on all sides (Note: In the spirit of full disclosure, I was singing soprano for most of the hike).
- John Muir Trail Vs Sierra High Route: When people think of long-distance hikes in the High Sierra, the John Muir Trail is the first name that usually comes to mind. How do the JMT and SHR compare? Both are stunning hikes that are similar in length and travel in a North/South direction through the Sierra. That being said, despite their close proximity the two walks remain quite distinct in character. The JMT is a well-maintained trail from start to finish, spends considerable time traversing valley floors, and along with the Appalachian Trail, is possibly the most popular long-distance hike in the United States. In contrast, the SHR is a route rather than a trail, stays almost entirely between 9,000 and 12,000 ft ( 2,743 m – 3,657 m), receives little in the way of hiker traffic, and remains relatively unknown outside of the U.S. long-distance hiking community.
Reflections
At Day’s End
“The white beams of the morning streaming through the passes, the noonday radiance on the crystal rocks, the flush of alpenglow, and the irised spray of countless waterfalls, it seems above all others the Range of Light.”
~ John Muir, “The Yosemite” (1912)
As a long-time admirer of John Muir, the Sierra High Route holds a special place in my hiking heart. To my way of thinking, the pristine, trail-less nature of much of the route encapsulates the spirit of Muir’s writing, in a way in which other more frequented pathways in California’s High Sierra never quite do.
During my SHR thru-hike, I carried a well-leafed copy of Muir’s “The Yosemite.” At the end of each hiking day, I would find a place to camp, set up my shelter, and spend half an hour reading the classic text. As I did so I would regularly look up and gaze in wonder at the surrounding peaks, soaking up the alpenglow as the sun clocked out and the moon clocked in. During these times I’d occasionally think back to 1986 when a seventeen-year-old version of yours truly first discovered the writing of John Muir. The memory made me smile. The book that had gotten me started was “The Yosemite”; the very same copy that I was carrying on my hike some twenty-five years later. What can I tell you; I’m a sentimental bastard at heart ;).
Gear List – Sierra High Route (added 10/13/2021)
As mentioned in the introduction, I hiked the Sierra High Route in 2011. Here is a list of what I would carry if I was to do the hike again in early/mid-September 2022. Why September? Less people and less bugs. Likely temps range from the mid-teens F (-9°C) to mid to high 60s F (approx. 20°C).
| ITEM | WT. (OZ) | SUB (oz) | SUB (kg) | COMMENTS |
| BACKPACK | ||||
| MLD Burn DCF | 16 | UL, frameless, slim profile – I’ve been using different incarnations of the Burn for over a decade / I’ve had the DCF model for the past two years – so far, so good. | ||
| Pack Liner (Trash Compactor Bag) | 2 | Cheap & effective | ||
| 18 | 0.51 | |||
| SHELTER | ||||
| Hyperlite Mountain Gear Square Flat Tarp | 10 | Holds up well in extreme conditions when pitched in storm mode / If the pre-hike forecast was less than stellar, I’d likely opt for the fully enclosed MLD SoloMid or Tarptent Aeon Li (in both these cases I wouldn’t carry a bivy). | ||
| MLD Superlight Solo Bivy (Lge/all net hood/DCF floor) | 6 | |||
| Stakes – Mix of sizes/styles (mostly MSR Groundhogs) | 2.8 | |||
| 18.8 | 0.53 | |||
| SLEEPING SYSTEM | ||||
| Pad – Thermarest NeoAir XLite – Large (resized to just under 150cm/5ft) | 11.9 | Converted to wide model a couple of years ago – extra width has been worth weight penalty/ Resizing cut weight from 16 oz to just under 12 oz / Click here fo long-term review of the small model. | ||
| Quilt – Katabatic Alsek 22 (Long / 900fp) | 22.2 | Conservatively rated 22°F / More than 1,000 nights in the backcountry using Katabatic quilts since 2011. | ||
| 32.1 | 0.91 | |||
| KITCHEN | ||||
| LokSak 20×12 (Food Bag) | 1.2 | Food storage bag of choice since the 2000s. I often hear people complain about the seals breaking quickly, but I’ve always found them to be fairly durable (4 to 6 weeks of daily use) if you don’t overfill them. | ||
| Reconstituted Talenti Ice Cream Container (for cold soaking) | 1.9 | |||
| Titanium Long-handled spoon | 0.7 | |||
| Reconstituted Sports Drink Bottles (one Smart Watter 1 LT & one 591ml Vitamin Water) | 2.6 | The VW bottle has a wider mouth and is easier to fill. | ||
| 6.4 | 0.18 | |||
| FIRST AID / HYGIENE | ||||
| Sunscreen (repackaged in tiny bottle) | ||||
| Hand Sanitizer (repackaged in dropper bottle) | It’s been 20 years since I’ve had a case of the trotskies in the backcountry. I think a big reason is my diligent use of hand sanitizer. | |||
| Aquamira (repackaged in dropper btles.) | Purification method of choice since 2007. | |||
| Toothbrush | ||||
| Toothpaste (mini tube) | ||||
| Dental Floss | Doubles as sewing thread | |||
| Antiseptic Wipes (2) | Clean cuts/wounds | |||
| Gauze | ||||
| Triple Antibiotic Cream (tiny tube) | ||||
| 3M Micropore Medical Tape | Breathable, paper tape / Adheres well. | |||
| Ibuprofen (6) | ||||
| Sewing Needle | One-armed blind people can sew better than I can. | |||
| Tenacious Tape (and/or Duct Tape), Mini Tube Super Glue (repairs) | To compensate for lack of sewing skills. | |||
| 4 | 0.11 | |||
| CLOTHES | ||||
| Rain Pants – Montbell Versalite | 3.2 | Very light, water-resistant, but not the most durable. | ||
| Thermal Underwear – Montbell Super Merino Light Weight Tights | 4.8 | |||
| Rain Jacket – Montbell Peak Dry Shell | 7.3 | Double thumbs up. Over the past year, I have worn this jacket during rainy season in the Sierra Madre, and a month’s worth of often inclement conditions in Alaska’s Denali and Gates of the Arctic NP’s. Notably more durable than indicated on the Montbell website. | ||
| Insulation – Montane Allez Micro Hoodie (Lge) | 6.7 | Can’t say enough about this hoodie. Made from Polartec Power Grid, I wore it daily during my month up in Denali and Gates of the Arctic. Found it to be an ideal insulation layer for cold/wet temps between low 30s to low 50s F (0°C-12°C). | ||
| Insulation – Montbell Plasma 1000 Alpine Down Parka | 9.1 | Excellent warmth-to-weight ratio. Upgrade over long-time stalwart, the Superior Down Parka. The latter isn’t as warm as the Plasma, but at less than half the price, is a better option for those on a budget. | ||
| Extra Socks – Darn Tough Hiker Micro Crew | 2.6 | |||
| Extra Socks – REI Merino Wool liners | 1.6 | |||
| Dirty Girl Gaiters | 1.3 | I’ve been a fan of Dirty Girls since 2007. You know what I mean. | ||
| Montbell Chameece Gloves | 0.9 | All-time favorite liner gloves. Very durable – I’ve had the same pair since 2016. | ||
| 37.5 | 1.06 | |||
| MISCELLANEOUS | ||||
| Phone – iPhone 11 | 7.1 | |||
| Otter Symmetry case for iPhone 11 (orange) | 1.3 | |||
| Camera – Sony RX100 3 + Neoprene camera case | 11.3 | After some years of only using my phone, I bit the photography bullet the last few years and purchased the RX100 3 and the Sony a6400 (w.18-135mm lens). The latter takes notably superior photos but is bulkier and more than double the weight (27.2 oz). | ||
| Stuff sacks – HMG Cuben Fiber (2) | 2.4 | |||
| Headlamp – Nitecore NU25 | 1.8 | Excellent rechargeable headlamp. Most of the time I tend to use the low red setting to preserve night vision. | ||
| Montbell Trail Wallet (orange model) | 0.5 | Love this little wallet. Use it both on trail and off. | ||
| Swiss Army Classic | 0.7 | |||
| Compass – Suunto M-3G Global Pro | 1.6 | Adjustable declination and globally balanced needle (more responsive than my old Suunto M-2). | ||
| Small pen | 0.3 | |||
| Deuce of Spades potty trowel | 0.6 | |||
| Map Bag – Quart Size Ziploc | 0.2 | Keeps maps clean, dry & organized. | ||
| Trekking Pole – Montbell Alpine Carbon Pole Cam Lock | 7.1 | Upgrade after many years of using the Fizans, due to the fact that I’ve had the twist-lock mechanism fail on me a couple of times in extreme conditions / Cam (flip) lock easier to handle, more secure, and worth the extra ounce and a half in weight. | ||
| 34.9 | 0.99 | |||
| BASE WEIGHT | TOTAL | 9.5 lb | 4.3 kg | |
| ITEMS WORN | ||||
| Shorts – Patagonia Baggies 7″ | 6.7 | Hiking shorts of choice since 2014/15. 7″ are long enough that they can be used on trail, but still look respectable around town. See Review. | ||
| Base layer – Patagonia Sun Stretch Shirt (size medium) | 6.5 | I’ve been wearing Sun Stretch shirts (I own a couple) since 2018. UPF 30, dry quickly, soft next to skin, and when freshly laundered, they look respectable enough to wear in airports and around town. | ||
| Hat – Baseball Cap + Cotton Bandana | 4 | |||
| Shoes – La Sportiva Ultra Raptor (size 46.5/US 12.5) | 28 | Used extensively on the rugged trails of Mexico’s Sierra Madre in 2020/2021, and in challenging off-trail conditions up in Alaska’s Denali and Gates of the Arctic NP’s. Can’t say enough about the shoe’s durability. Double thumbs up. | ||
| Socks – REI Merino Wool liners | 1.6 | Still my favourite liner socks, though the current models aren’t as durable as the pre-2013 versions. | ||
| Dirty Girl Gaiters | 1.2 | Handy for keeping out dirt and mud. I’ve been using DG’s since 2007. | ||
| Watch – Suunto Ambit3 | 3 | User-friendly, rechargeable battery, GPS, and altimeter (when calibrated) very accurate. That said, I tend to leave the GPS off so the battery typically lasts a few weeks before needing to be recharged. | ||
| Sunglasses | 0.8 | Polarized lenses, 100% UV protection, wrap-around. | ||
| 51.9 | 1.47 | |||
| TOTAL WEIGHT | 12.7 lb | 5.77 kg | ||
Related Posts
- Tips for High Altitude Hiking
- Sleeping Bags and Quilts for Thru-Hiking
- Backpacks for Thru-Hiking
- Tents for Thru-Hiking
- Review: Katabatic Gear Quilts
Disclosure: This post contains some affiliate links, which means The Hiking Life receives a small commission if you purchase an item after clicking on one of the links. This comes at no additional cost to the reader, and helps to support the website in its continuing goal to create quality content for backpackers and hikers.
Discover more from The Hiking Life
Subscribe to get the latest posts sent to your email.
Thanks for providing such a great guide and including tons of additional resources. My wife and I completed an AT thru last year and are now scouting shorter duration trips. For now the 2-4 week ones seem to suit us better than another 6 months on trail.
The SHR sounds like a great trip. Also, thanks for sharing the differences between John Muir and SHR. JM is another consideration high on the list.
Very detailed account of this hike – thanks for sharing, it is now on the wish list.
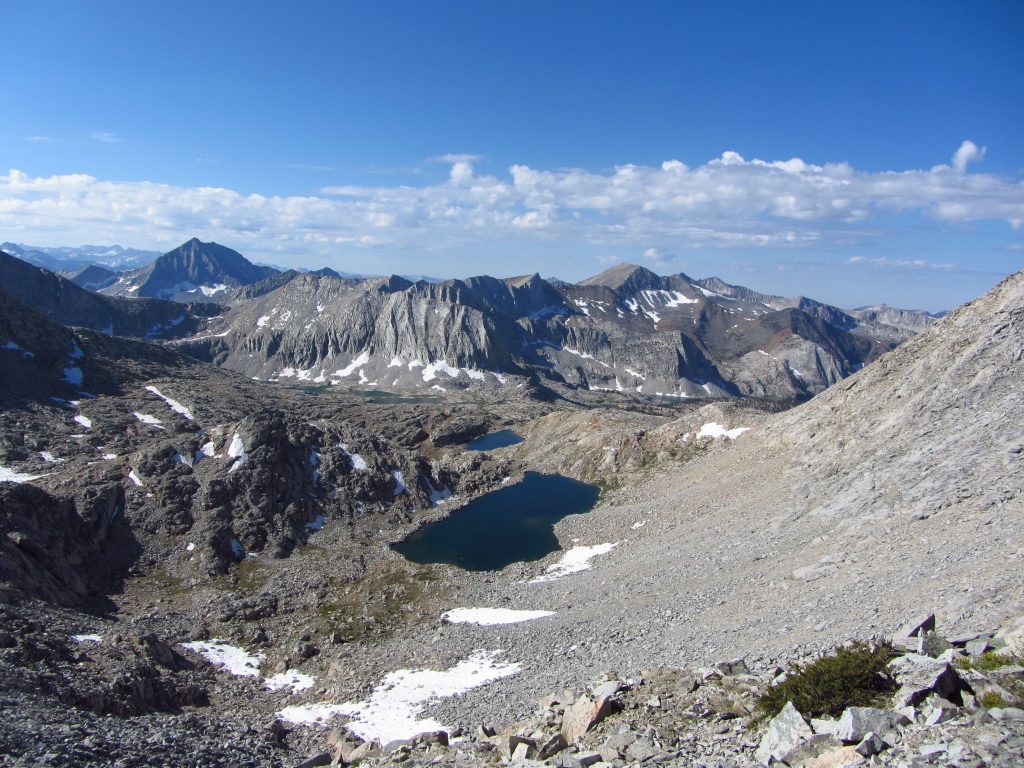
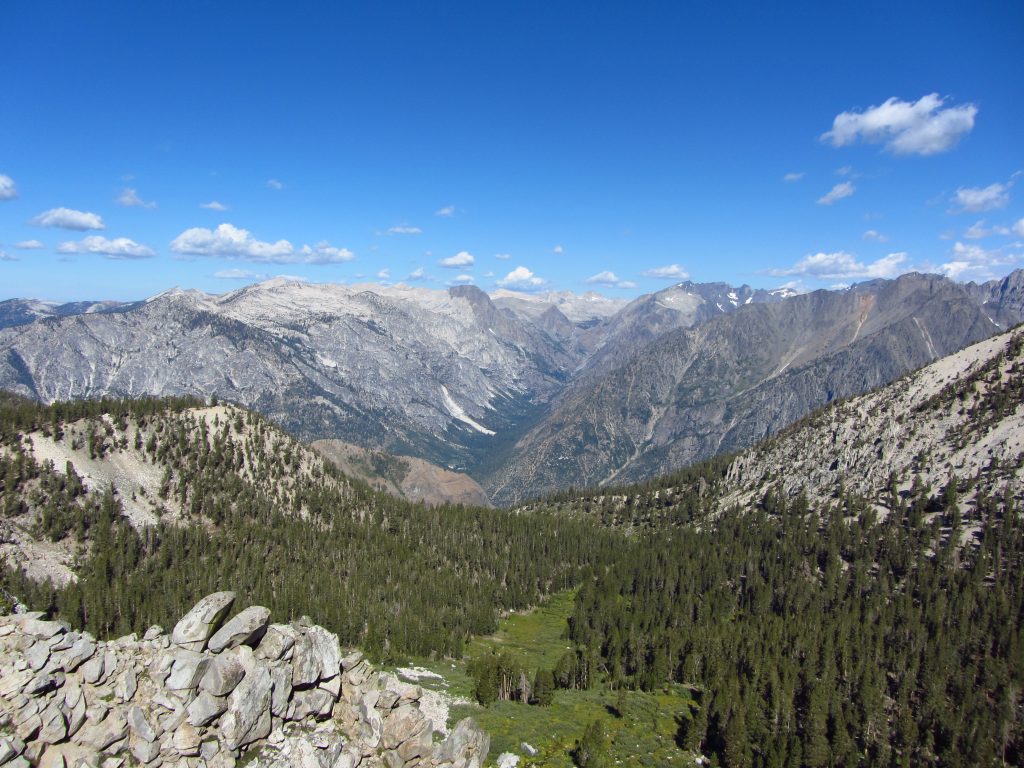
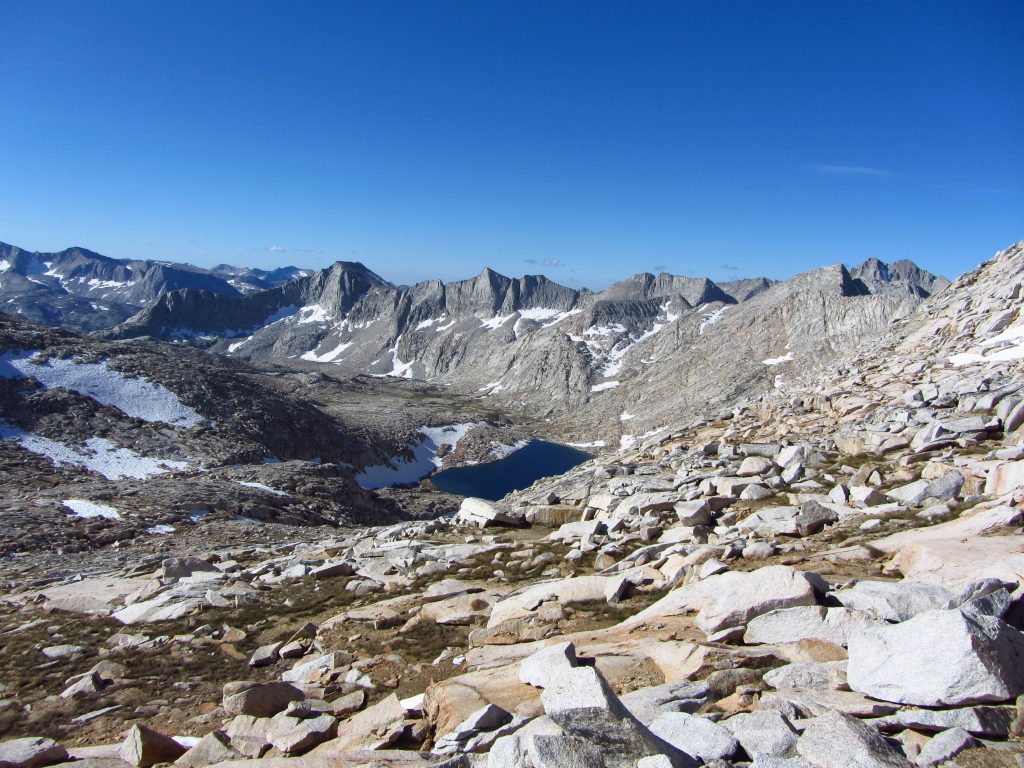
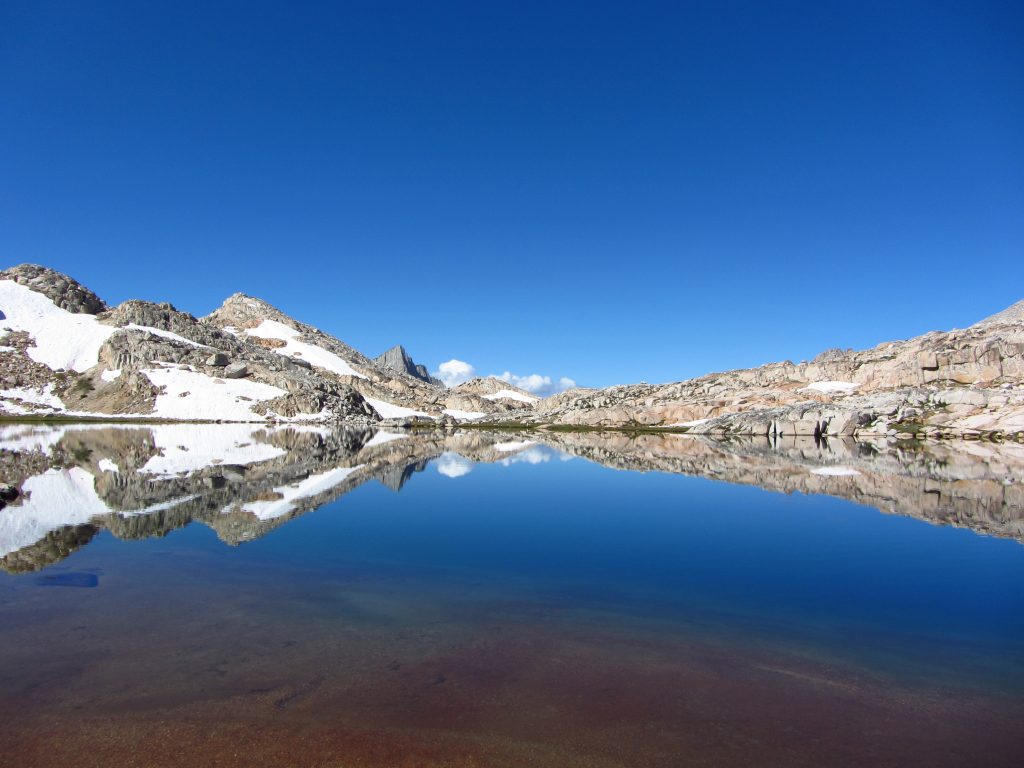
Hey, just wondering where the third unlabeled photo was taken? I’m planning on doing a section of SHR because I only have 10 days. It’s all seems so beautiful so finding it difficult to decide which section to do. Anyway favorite parts? Thanks heaps!
Chloe, I’d suggest you buy Steve Roper’s book (listed above under Maps and Information). Besides being a pleasure to read, and having tons of descriptive detail about the entire route, it discusses how to break the trip up into 5 or 6 segments.
I’m still in the daydreaming mode myself, so I can’t give much in the way of first-hand suggestions about the route itself. But based on various trips over the years from north to south in the vicinity of the route, I suspect that the northern-most segment would be the least interesting, the views adjacent to Yosemite would be stunning and average a little lower elevation, and the southern end would be the least populated but highest elevation and most rugged — perhaps an even wilder beauty than near Yosemite.
In my younger days, I went in at Twin Lakes, came out at Tioga Pass, so I may have approximated the north end of this route. I camped just across Matterhorn Pass the first night and climbed Matterhorn the next day. It’s an easy scramble and provides a wonderful view. From there, I mixed trails and cross-country, climbing one other more-gentle peak (White’s?). Just make sure your shuttle is more reliable than mine. I ended up hitchhiking with a slightly drunk Jeep driver to Bridgeport, then hiked ca 12 miles back to my van in the dark.
The photo would appear to have been taken from approximately 36.89164202097354, -118.5813117043628
Great Intro to the SHR Cam.
(I’m an Aussie and a bit limited on travel months, have done some ski touring and lots of alpine treks, have walked CDT). Any thoughts on shoulder season SHR or a ski/hike traverse (eg spring April /May)? Other than in the prime time (Sept?) it seems this or the JMT would be easier traveled just committing to ski gear than other shoulder season alternative. Thanks for the story and your site, always interesting.
Because of the snow so far, this year has the potential to be a good one for a ski traverse. It’s probably obvious, but if going in April, late April would likely reduce the avalanche risk. Though I think not many people have skied the whole thing, it’s probably worth noting that the people who have done it (e.g. Andrew Bentz – https://www.youtube.com/watch?v=ZojE9nhR88o) seem to reroute around the steeper cross country passes for gentler, more ski-able options.
What is the best route Hiking from kearsarge pass trailhead to Bridgeport. And where could I find a map of it?
A Marine Lieutenant is currently missing after starting a south to north trek of the route about 2/23/19! He was planning about 10 days for the route, and presumably not planning on intermediate resupply. That area probably has ca 150% of average snowpack and temps have been below average, avalanche danger quite high. You have to wonder if he planned to come out alive.
I wondered if he was using it to hone in on his winter survival skills that he is specially trained in. 10 days seems like a short time to get 195 miles of HEAVILY snowed on terrain under your belt – thinking maybe he was planning on going full force and incorporating skiing. I hope he’s found safe.
Killer article. Really appreciate this info – Are basic compass skills sufficient for this route ? Will be carrying gps but attempting to rely mostly on map and compass. Wondering how you would rate the difficulty of navigation. I’m very familiar with the high Sierra trails but this will be my first route. Appreciate your time ! -Stephen
Hi Stephen,
Thanks for the message. Given a basic level of map and compass proficiency and a decent run with the weather, I suspect you’ll be fine. On the SHR there are a plethora of distinguishable landmarks (e.g. lakes, prominent peaks, more than 30 passes) which make it easier to keep track of your position. If the weather turns crappy and traditional navigation becomes increasingly difficult, you’ve always got your GPS as a backup.
All the best,
Cam
Thank you sir ! Again, I appreciate your time 👏🏽
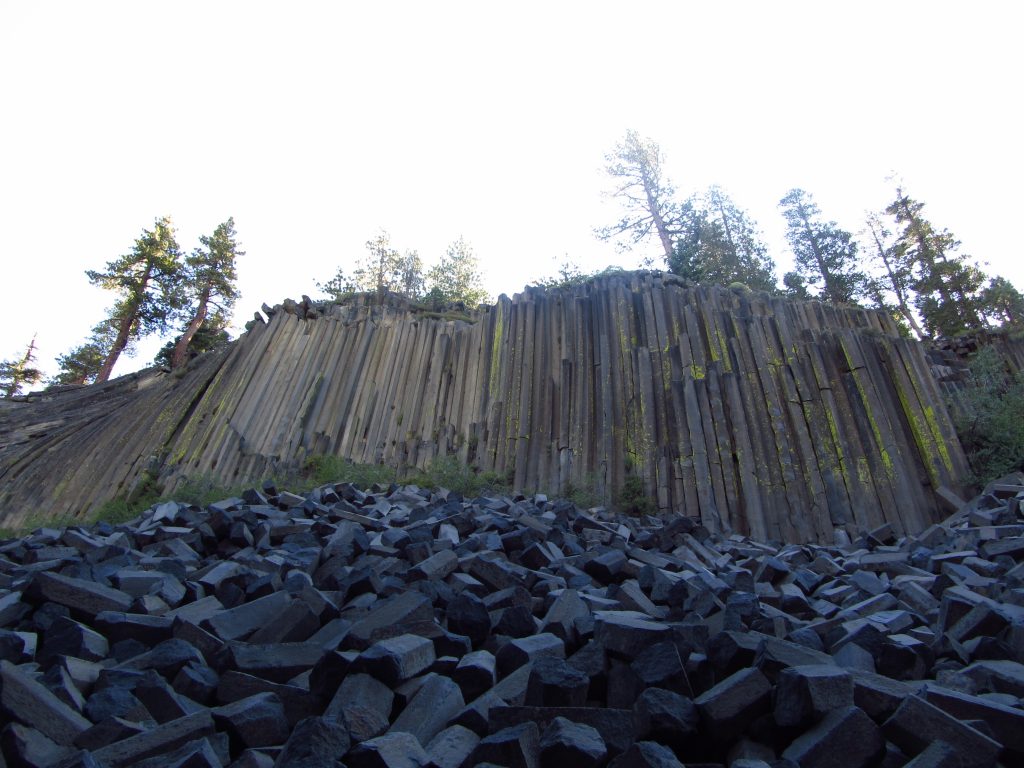
That columnar basalt formation looks fantastic. Great post, thanks
HI Cam,
Thanks again for the information and all the hugely inspirational trip reports!
I am thinking about doing this route next year, however I have a question about the difficulty. I see that you rate this as ‘challenging’ whereas for instance the HRP / CWT are rated as ‘moderate to challenging’. Having done the later hikes I wonder if I would be ready to take on the challenge of the SHR. Perhaps you (or someone else) can shed some light on what makes this more challenging?
Roy
Hey Roy,
Thanks for the message. Off the top of my head, on the SHR the food carries are longer (and you’ll probably need to carry a bear can), elevations are a bit higher, and there’s a lot more scrambling and technical terrain.
Cheers,
Cam
Hi Cam, may I contact you via email to discuss this route? I just completed the Ptarmigan Traverse and am looking for something to do next summer (2023). Thanks! John
Hey John,
Thanks for the message. What would you like to know?
Cheers,
Cam
Hi Cam, thanks so much for responding and I’m sorry for the delay on my end. I’m wondering how much of the SHR is truly boulder hopping and scree. At age 59 and after 37 years of climbing, my knees and balance ain’t what they used to be. I just did the Ptarmigan Traverse which was fine but lots of snow travel so pretty easy. I’m looking to segue into UL thru hiking but may not be able to take six months off for the full PCT. Looking to experience the Sierras as I never climbed there. Is it between SHR or JMT and that’s it or are there other routes to consider? Thanks! John
Hi John,
There’s quite a bit of boulder hopping and scree on some of the SHR passes. If you’re not sure about how your knees will fare, the JMT would definitely be a safer option (while still showcasing some incredible scenery). Another shorter option could be the High Sierra Trail (72 miles) (Note: I haven’t personally done this one).
Cheers,
Cam
Thanks Cam – I’ll research all of these hikes. Appreciate your help. John
Hiya — I’m thinking of doing the High Route this summer and am wondering what time of year you did it in 2011? That was the last record snowpack year, Mammoth has over 600 inches so far this year! My friend and I are aiming for September (that’s when we can get work off).
Hi Maria,
My friend and I did the hike in mid-September. All the best with your trip!
Cheers,
Cam